Google Classroom Tips
Google Classroom Tips & Tricks
Now that you have been working with Google Classroom, here are some tips to help you and your students.
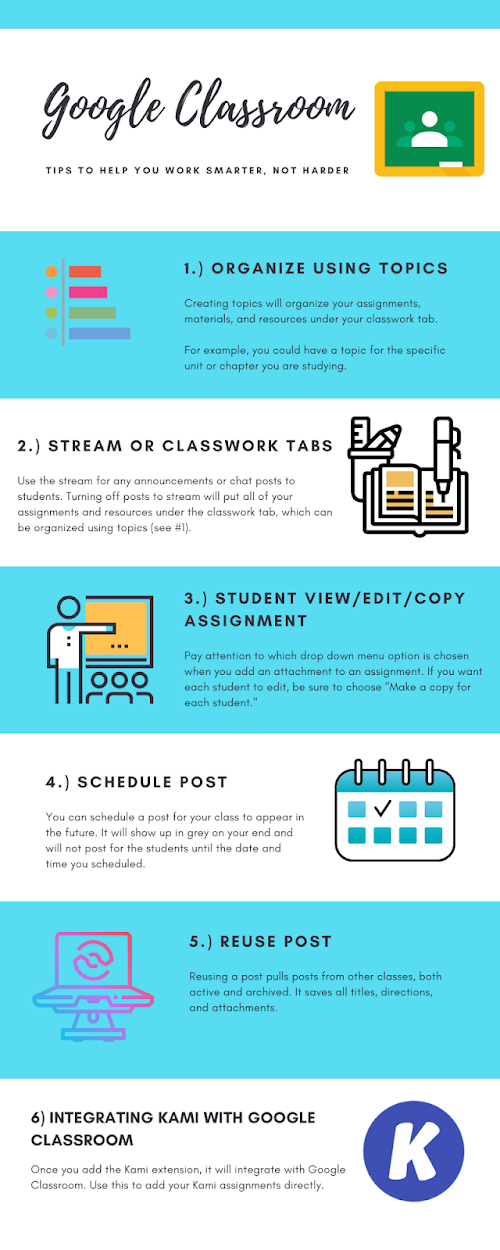
1) Organize using Topics:
Topics are your friends. Think of them like file folders. File folders are used to organize papers based on topics. You can do the same with your material and assignments in Google Classroom. To add a topic, go to the classwork tab. Choose + Create and scroll down to topic. Name your topic based on your material (ex: Fractions Chapter 3 or World War 1). When you create assignments, you will be able to choose the topic they go under.
The other great thing about topics is students can click on the topic from the left side menu. It will pull up everything under that topic.
You can also rearrange your assignments. If you forget to put content under a topic, simply click and hold the assignment/material to move it under the topic you want.
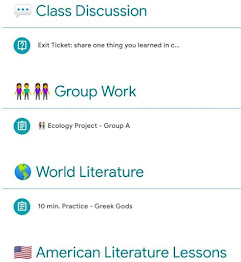
**Bonus tip: If you want to add emojis like the above picture, download the Emoji Keyboard extension from the Chrome Web store. Link here!
2) Stream or Classwork?
Not sure if you should use the stream or the classwork tab? I recommend all material, content, assignments to go under the classwork tab. Use the stream to post announcements to students. You can turn off the stream (meaning only your announcements go to the stream) using the following steps:
Go to the specific class. Click on the gear icon in the top right corner 
Under General go down to Classwork on the Stream. Choose Hide Notifications. Now, it will only show your announcements on the stream an all classwork will appear under classwork.

When you start getting a whole list of assignments that are not organized, it is so difficult for both you and the student to find what they are looking for. For this reason, I suggest keeping the classwork tab only for assignments.
3) Student View:
Student Can View, Student Can Edit, Make a Copy for Each Student
When you post an attachment to an assignment, check how the student will view it. If you want every student to edit their own assignment, you must change it to make a copy for each student. If you choose student can edit, all students will edit the one original document and see each others work. If you have a slideshow or document that you want the students to read and not edit, you would choose the students can view option.
Be very careful about this one. Once you post the assignment, you can't go back in and change to "make a copy for each student." If you have to do that, you will need to delete the original post and create a new one.

4) Schedule Posts:
Scheduling posts is a great feature for planning in advance. The one downside to schedule posts is you can't schedule for more than one class, which is when you'd want to reuse the post (see #5). To schedule a post, fill out everything for the assignment/material like you usually would. Instead of clicking the assign button, choose the drop down arrow beside assign.

From there, you will click schedule and you can pick the date/time you want the post to appear. Once you post it, it will show as a gray assignment on your end. The students will not see it until it posts. As soon as it is active, it will change color on your end to fit the rest of your color scheme.

You can schedule as many posts in advance as you would like. Typically, I would schedule assignments for the upcoming week at one time so I didn't have to worry about it again.
5) Reuse Posts:
Since you can't schedule a post for more than one class at a time, the reuse post feature is especially helpful. This feature allows you to reuse posts from any class, whether is a present class or an archived class.
To reuse a post, click create under the classwork tab. Scroll down to the reuse post button.

When you choose this, it will pull up a list of all of your classes. Choose the class you have the original post you want to reuse, click the assignment, then click reuse. Your original assignment with all of the attachments, directions, etc. will come up. Check your due date and topic to ensure they are correct (you may need to change these depending on if it is an active or archived class). You can then either post it right away or schedule it like you did in tip #4.
6) Integrating Kami with Google Classroom
First, ensure that you have downloaded the Kami extension from the Google Chrome Store. With the paid version of Kami, you will be able to assign an activity straight to Kami through Google Classroom. Once you've downloaded the extension, this will appear in Google Classroom. When creating an assignment, choose Kami Assignment instead of the regular assignment. Fill out your assignment as you usually would (title, description, topic, attachments, etc.). If your students haven't used Kami before, you can add instructions for the students (check the Send Kami instructions to students). You won't need to use this every time.

The great thing of using the Kami assignment feature in Google Classroom is that you CAN schedule posts for more than one class.
You can also assign Kami straight from the Kami website interface. Simply choose create classroom assignment.

When students open their assignment from Google Classroom, they will choose "open with Kami" at the top of their page. From there, they are able to use all of the Kami features to complete the assignment. They can turn in their assignment straight from Kami by clicking "turn in" at the top right.
You can also grade their assignment from Google Classroom using Kami from the View Assignment and students tab under the assignment. All you need to choose is Grade with Kami.
Comments
Post a Comment